It started with a jar. For years I kept a chipped enamel jar by the studio sink and dropped every interesting bottle cap into it — beer caps from summer evenings, a green one from some French lemonade, caps with lettering I couldn’t read. Graphic designer’s disease, maybe. Fifteen years of staring at type and colour will do that to you. The caps were too well made to bin and too small to do anything obvious with.
Then a friend lost her house keys for the third time in a month, and I thought: what if the thing that makes your keys impossible to lose is also the thing you’ve been saving for no reason? So I started turning caps into keychains. Some worked first try. Some really didn’t. Here’s what I learned, in the order I’d teach it.
1. The photo one — small enough to carry everywhere
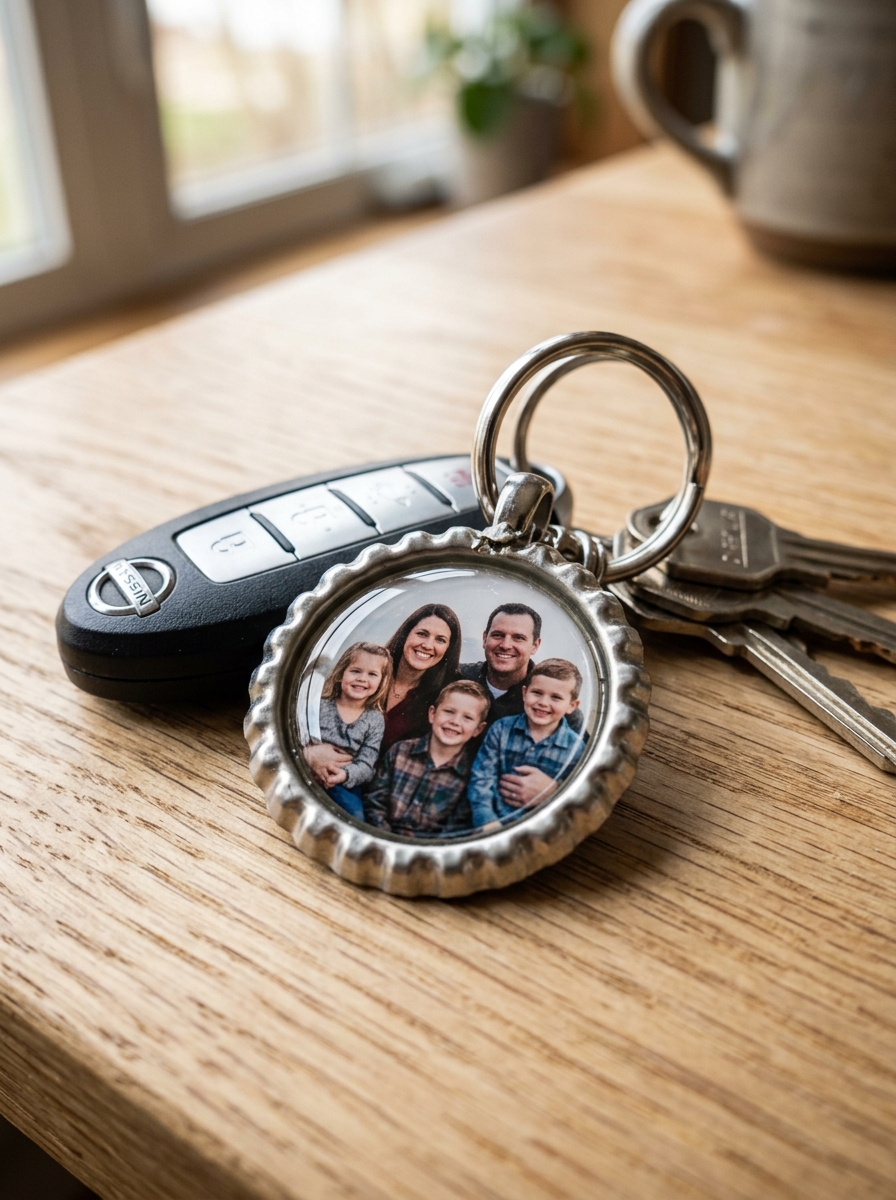
The first one I ever made. Still on my own keys, three years later.
This is the one that started it all: a one-inch circle of photo, seated inside a metal cap and domed under clear resin so it magnifies slightly, like a tiny lens. Print your picture on proper glossy photo paper and use a one-inch lever punch to cut it — scissors will betray you with wobbly edges, every time. Punch the hole for the ring in the cap’s rim before anything else goes in. Then seal the photo front and back with decoupage glaze and let it dry completely.
My first attempt skipped the sealing. The resin soaked into the paper and my grandmother went a translucent grey. Second try, sealed properly, came out clear as glass. That mistake is the whole craft in miniature, honestly — patience at the boring stages. UV resin cures in a few minutes under a lamp, which suits my temperament better than waiting a day. Add a jump ring and a split ring, and you’ve got something that survives pockets.
2. A fern pressed flat, kept for good
The fern came from the crack in my own front step. It deserved better than the pavement.
Every spring I press more flowers than I know what to do with — forget-me-nots, baby’s breath, the little ferns that grow where they shouldn’t. A bottle cap turns out to be exactly fern-sized. Press your specimens in a heavy book between parchment for a week; they need to be bone dry, because any moisture left in a petal will turn it brown under resin. I learned that the sad way, with a clover that looked pickled.
Paint the inside of the cap first — cream or a quiet sage — so the greens have something calm to sit on. Position everything with tweezers and a dot of glue, because once the resin goes in, nothing moves where you want it to. Pour slowly. Two-part epoxy gives you more working time than UV resin here, and for once I don’t mind the wait. This one suits anyone who’d rather carry a bit of garden than a logo.
3. The map of the trip you keep talking about
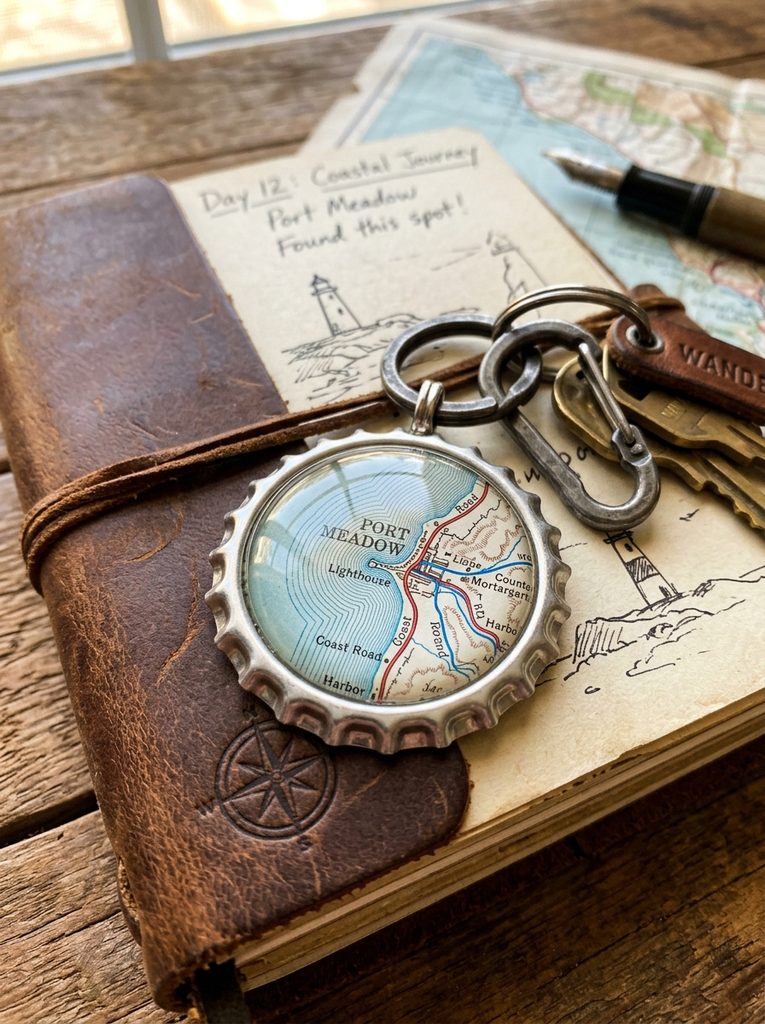
That little harbour town, dead centre. You know the one.
Old road atlases are nearly free at flea markets now, and nobody’s feelings are hurt if you cut one up. Find the place that matters — the town you grew up in, the coastline from that one perfect trip — and punch out a one-inch circle with the name sitting nicely in frame. The contour lines and tiny printed roads do all the design work for you. It’s found typography, which is my favourite kind.
Map paper is thirsty, so seal it twice before resin ever gets near it. Or skip resin entirely: a clear epoxy dome sticker pressed firmly over the sealed circle gives you the same glassy finish in about ten seconds, no lamp, no mixing. That’s my tip for beginners, honestly — dome stickers forgive everything. Press from the centre outward so you don’t trap an air bubble over the town name. I made one for my brother with our childhood street in it. He pretends he doesn’t care. He has never taken it off his keys.
4. A tiny clay face with unreasonable charm
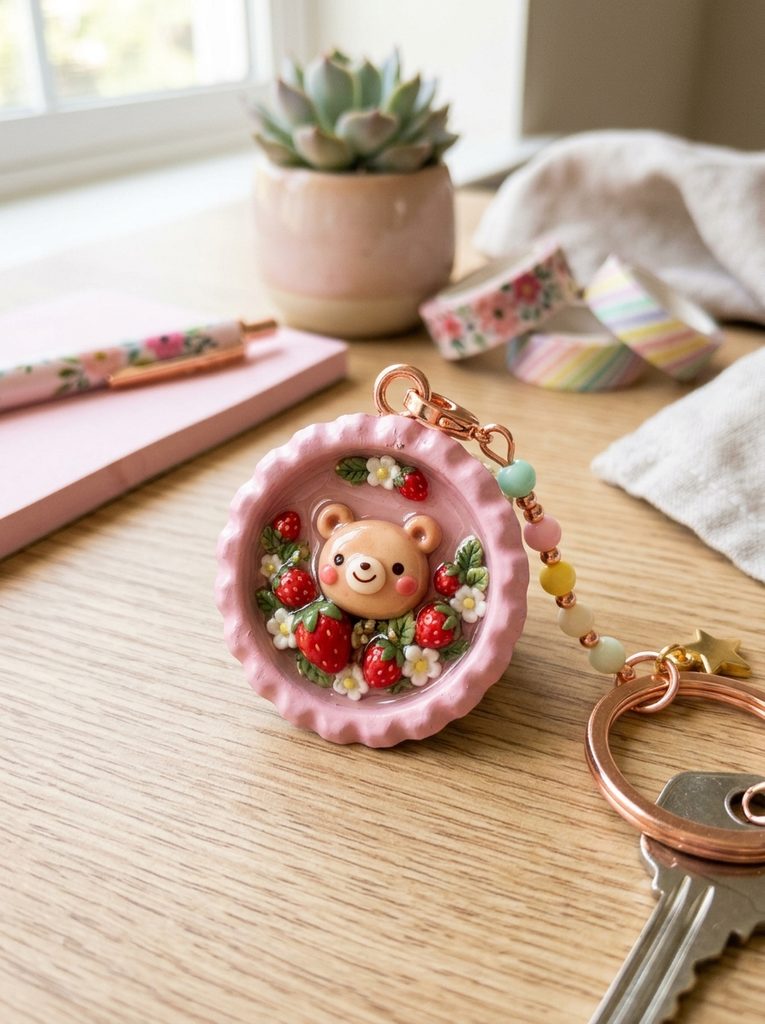
The bear’s nose went wonky. The wonky nose is the whole point, I’ve decided.
Polymer clay inside a cap is basically a miniature plate you can sculpt on. Knead a coin of clay, press it into the cap as a base, then build something small on top — a bear face, a strawberry, three mushrooms if you’re feeling ambitious. Dotting tools help, but a toothpick and a knitting needle did most of my early work. The cap’s fluted rim protects the edges, which is why these survive daily life better than a bare clay charm would.
Here’s the order that matters: punch the hole in the rim first, then sculpt, then bake the whole thing — cap and all — on a ceramic tile at the temperature on the clay packet, usually around 130°C for thirty minutes. Metal handles it fine. What the oven won’t forgive is thick clay; keep layers thin or the middle stays soft. Finish with a brush of gloss glaze once it’s cool. Kids take to this one instantly, and the raised surface means you can find your keys by touch in a dark bag. Genuinely useful, that.
5. One letter, done properly
Hers, his, and the spare set. No more trying every key in the lock.
Fifteen years of graphic design and my favourite letterforms are still the simple ones. For a monogram keychain, punch a circle from good decorative paper — marble, terrazzo, something with a bit of gold in it — and put a single initial in the middle. A metallic calligraphy pen works; so does a fine archival liner if your hand is steady. Mine is steady before coffee, shaky after. Plan accordingly.
The trick is restraint. One letter, lots of breathing room, a cap in a metal tone that suits the paper — gold with marble, black with anything. Seal the paper well, because ink can bleed under resin if it isn’t fully dry and sealed; give it a good forty-five minutes. These are the ones I make as gifts, in little batches before Christmas. They look like they came from a small design studio, which, between us, they did — a studio of one, at a kitchen table.
6. Sheet music for the quiet ones
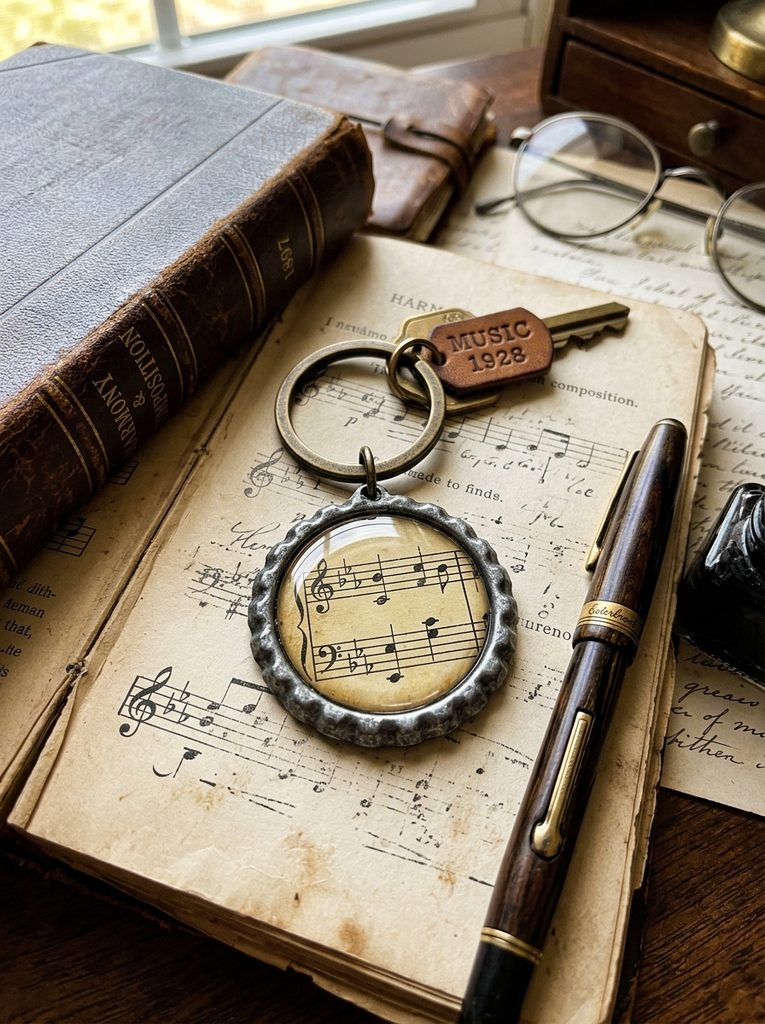
Found in a songbook with a broken spine. The music deserved a second life.
Damaged old songbooks turn up in charity shops for almost nothing — the ones with torn covers nobody wants. Inside, the pages are beautifully aged, and a single measure of music fits a one-inch circle like it was typeset for the job. Notes, a clef, maybe a dramatic little crescendo mark. It’s pure rhythm and pattern, even if you can’t read a note of it. I can’t, much. Fifteen years of design, zero musical training.
One practical warning, and it’s the mistake I see most: old paper is fragile and drinks resin greedily. Two thin coats of matte sealer, twenty minutes apart, no shortcuts. Pair the paper with an antique bronze or pewter-toned cap rather than a shiny new one — the whole thing should look like it was found in a drawer of interesting things, not bought yesterday. Music teachers get these from me now instead of a card. The card gets recycled. The keychain stays.
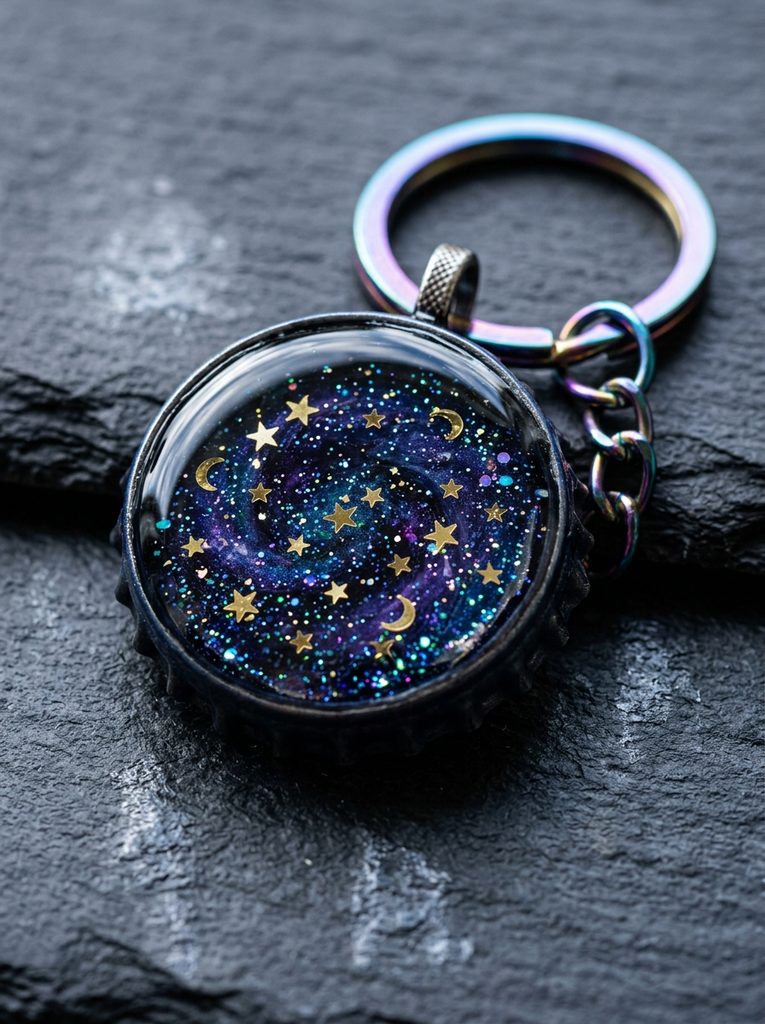
7. A small galaxy that took three pours
Three layers deep. The stars only behave if you pour thin and wait.
This is the show-off of the family: a night sky built in layers inside a black cap. Paint the base midnight blue or black. Then a thin pour of resin mixed with holographic glitter and a whisper of purple mica — cure it. Then tweezers, tiny star foils, a crescent moon, placed by hand. Then a final clear pour domed over the top. Each layer cured separately is what gives it depth; dump everything in at once and you get glitter soup. I know. I have made the soup.
Work somewhere dust-free if you can, because a single hair cured into the top layer will haunt you forever. This one isn’t faster or cheaper than the others — it’s the one you make when you want to see what the materials can actually do. It catches the light in a way that makes strangers ask, which, for a thing made from a drinks bottle, is a pretty good trick.
8. The plastic one — no paper, no paint
The colours are the material. Nothing added, nothing faked. I like that about this one.
Plastic screw caps come in honest, saturated colours — cola red, that particular sports-drink blue — and they need no decoration at all. Cut the flat tops out of several caps and snip them into little triangles and squares, then mosaic them into one whole cap kept as the base. It’s colour-blocking with rubbish, and the designer in me finds that deeply satisfying. Use proper craft snips and a cutting mat; an adult job, this part, because the plastic fights back.
Glue each piece with a plastic adhesive, fill to level with clear epoxy, and let it cure a good twelve hours. The result weighs almost nothing, shrugs off rain, and never rusts — the one I’d hand to a kid or clip to a swim bag. My first mosaic was a spiral that wandered badly off-centre. I kept it. Off-centre spirals have character, and besides, perfection was never really the aesthetic here. If you want tidy geometry, lay the pieces out dry first and photograph the arrangement before gluing. Learn from my spiral.
9. Two caps, flattened, back to back
Initial on one side, photo on the other. It slides into a pocket like a coin.
Flattening a cap feels wrong the first time. Put it face down on a hard block and work it over with a rubber mallet — evenly, walking around the edge — and the crimped rim opens out into a wide, flat disc, noticeably bigger than what you started with. Do two, punch matching holes, and glue them back to back with strong epoxy. Now you have a medallion with two faces: a monogram on one side, say, and a photo on the other. Or a map and a measure of music.
The honest notes: hammering is loud, the neighbours will have opinions, and a rolling machine — if you ever get access to one — does it smoother than a mallet does. Wipe the metal with rubbing alcohol before gluing or the join won’t hold. Do one side’s artwork completely and let it cure before flipping to the other, or you’ll smear the first face on the table. Ask me how I know. The flat profile is the reward — no ridges, no catching on pocket seams, just a smooth coin of a thing.
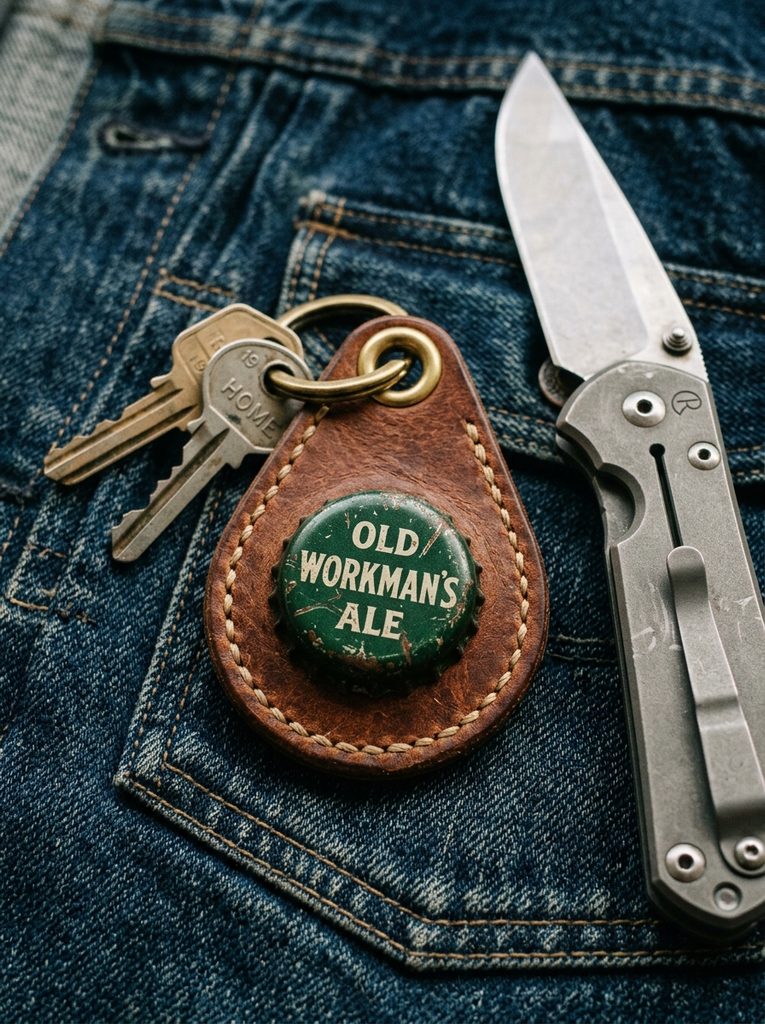
10. Leather underneath, like a proper fob
The one that lives on my car keys. The leather has darkened beautifully.
The last one is the grown-up: a finished cap — photo, music, whatever you’ve sealed inside — mounted on a teardrop of vegetable-tanned leather. Cut the leather about two inches wide and three and a half long, punch the top for a brass eyelet, set the eyelet properly, and bond the cap to the centre with contact adhesive. Clamp it twenty minutes. Burnish the edges, rub in a little beeswax conditioner, thread a heavy brass split ring through the eyelet.
Why bother? Because the leather stops metal edges ever touching a phone screen or a car console, and because it feels like an object someone made on purpose. This is the only one here that costs real money — a small offcut of good leather — and the only one I’d call an heirloom with a straight face. Suits dads, graduates, anyone who thinks a keychain should outlast the car. Mine has. Twice, actually.
Where I’d start, and what I’d skip
If you’re new to this, start with the map cap and a dome sticker — no resin, no lamp, finished in fifteen minutes, and it teaches you the sealing lesson without punching a hole in your confidence. Then the photo cap with UV resin. Save the galaxy and the double-sided medallion for your second weekend, when your hands know the tools. On a budget, skip the UV lamp entirely: dome stickers and slow epoxy cover most of these, and the caps themselves cost nothing if you start saving now. What I wouldn’t skip, ever, is the boring prep — wash the caps, punch holes before pouring, seal the paper twice. Every failure I’ve had traced back to one of those three, never to the pretty part.
Questions I get asked
Do I really need a UV lamp?
No. It speeds things up — a few minutes instead of a day — but epoxy dome stickers and two-part epoxy get you the same glassy finish. I used stickers for a year before buying a lamp.
Why did my paper go see-through under the resin?
Because it wasn’t sealed, or wasn’t sealed enough. Two thin coats of decoupage glaze or clear sealer, front and back, fully dry. That step is the difference between a keepsake and a sad grey blur.
Can I punch the hole after the resin cures?
Please don’t. The resin cracks, the cap bends, and you’ll be sad. Punch first, always — it’s the first thing I do now, before any artwork goes in.
Where do I get enough caps?
Ask around. Cafés and bars will often save crown caps if you ask nicely, friends will start pocketing them for you, and your own recycling is a start. Within a fortnight, people start handing you caps unprompted. Fair warning.
Is this a good craft to do with kids?
The clay and mosaic ones, yes, with supervision. Keep the hole-punching, leather cutting, and resin work to adults — resin isn’t a children’s material — and let small hands do the designing, pressing, and arranging.
That’s the jar, ten caps at a time. If you make one, save this page on Pinterest so it’s there when the caps start piling up — and they will pile up. — Elias